
 Learning how to ride a bike is a rite of passage. Teaching someone to ride a bike is another. The event is ingrained in our memory and in some cases documented on video or photo for prosperity. If you are planning to teach your child how to ride a bike, here are tips to help make the milestone safe, memorable, and hopefully successful!
- Find a space to practice – The best place to teach a child to learn to ride a bike is a flat, paved surface with limited traffic and few obstructions. The child won’t be able to balance when moving at a snail’s pace, so encourage them to move speedily. A long driveway, empty parking lot, cul de sac, or street with limited traffic may work well.
- Equipment Check – Start by checking and adjusting your child’s equipment. Make sure bike helmets fit properly and inspect the bike. Remove the training wheels AND remove the pedals. (Pedals do not follow “righty-tighty/lefty-loosey.”) Adjust the saddle (bike seat) height so that it is level and low enough for the child to place his/her heels firmly on the ground with knees slightly bent. It’s helpful if your child is wearing long pants and closed-toe shoes.
- Practice without Pedals – With these adjustments, the child can scoot and push him/herself around the space until they can glide for a distance without placing their feet on the ground. Make a game of it. Place cones or toys on the ground so your child knows where to turn. Once the child is confidently scooting and balancing through turns, they are ready to reattach the pedals.
- Practice with pedals – This will take many tries and athletic shoes are recommended. With pedals attached, children need assistance with the starting. Without over stabilizing the child, parents may have to hold the center of the handlebars, or underneath the rear of the saddle and walk or jog as the child begins to pedal. At the moment the child reaches the speed to balance on their own, let go!
- Power Position -When the child practices to start the bike, it’s a good idea to prepare them for real-world conditions. Imagine you’re going to cross an intersection, the child should be ready to pedal across when conditions are safe. Set the cranks for the power position with one pedal up and forward at a One-O’Clock position. From a stop, the child can push the pedal down and begin to pedal across the intersection. Children’s bikes are often equipped with with a coaster brake, so the rear wheel must roll forward or be lifted to reset the pedal position
- Braking – Before taking them on the sidewalk, road or path, play a few games to help them practice using their brakes. Begin with the child pedaling as you walk or jog next to them. Narrate a story, “Let’s imagine you’re riding in the park and a squirrel jumps into your path!” As they understand how their brakes work and feel, they also get an idea of when to use them. Another game/exercise is to place an object, toy or line with sidewalk chalk on the pavement and encourage them to stop with their front tire on the line.
Most importantly, Smile and Breathe. Consider that new learners will hold incredibly tightly to their handlebars, so their hands might even hurt after a few minutes. Children’s bike saddles often do not offer great support for sensitive areas. Limit your sessions to 2 hours max with short breaks off the bike to stretch and to gather themselves to begin again. It can take more than several attempts until they get it. Their minds need time to digest all of this in the background. With this, you’ll know when is a good time to stop for the day.
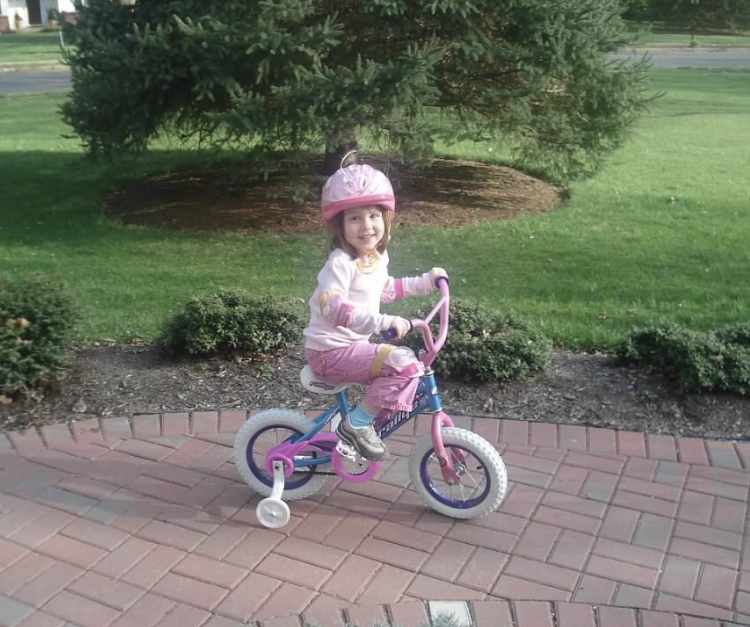
Oh and don’t forget to have someone grab a camera…